Five stages, and the last one never ends
Tap a stage for what it takes. The dashed edge is the part most guides bury: a FOB does not restock itself, so holding one sends you back to stocking it for as long as it stands.
01 Buy it
$7,500 at the Equipment Vendor, under Gear, Items, Building. BULKHEAD’s Season 1 changelog raised it from $2,500, so a guide quoting $2,500 is describing the beta.
Publisher stated2 October balance hotfix: CIWS kills the Havoc in around 6 seconds
BULKHEAD says the Vanguard CIWS now destroys the Havoc in around 6 seconds instead of 12, correcting what it calls an overcorrection in the previous patch. No client download or downtime is required. The official post supplies no CIWS build cost, ammunition use, damage, range or Havoc health value; the construction details below remain separately attributed community reports.
Where to buy a FOB, and what it costs now
The FOB is an item, not a structure: you buy it like a rifle and deploy it later. Guides place it at the Equipment Vendor under Gear, Items, Building. The price is the one number here BULKHEAD printed itself — the Season 1 changelog moved it from $2,500 to $7,500, which is why guides written against the beta still say $2,500. Budget for the Season 1 figure. One guide dated 11 September gives $4,887; that matches neither official price and is not used on this page.
The FOB’s database entry, with the Season 1 source →
| Figure | Value | Status |
|---|---|---|
| Purchase price | $7,500 | Publisher stated — Season 1 changelog |
| Price before Season 1 | $2,500 | Publisher stated — the same changelog’s “before” column |
| Where | Equipment Vendor → Gear → Items → Building | Reported, 11 Sept |
| Inventory footprint | 2×3 — the free starter backpack will not hold it | Reported, 11 Sept |
| Weight | 6.5 kg | Reported, 14 and 20 Sept |
| Fee to place it | $1,000 | Reported by one guide, 20 Sept |
How to place a FOB, step by step
This is the sequence two All Things How guides of 11 September describe. A single player can walk a FOB out, but cannot carry enough build supplies to make it useful, which is why both guides load it into a vehicle.
- 01
Buy the FOB and a hammer
The case contains a small starting kit, but a Large Hammer is what builds the heavy structures — see the hammer table below.
- 02
Haul it out
In a large enough backpack, or loaded into a vehicle’s logistics slots from the vehicle’s Logistics screen. A crate can be released from the driver’s or pilot’s seat with G.
- 03
Equip it and hold left click
Take the FOB into your inventory, press Tab to see which hotkey it sits on, equip it so the case is in your hands, and hold left click on open ground.
- 04
Check the map
A zone in your team’s colour appears on the map. That zone is the boundary for every structure that needs a FOB. One guide gives it as a 60 m build radius.
- 05
Take the hammer out first
A deployed FOB is lootable. Open it and pull out the hammer inside before anyone else does.
Why your FOB will not place
Placement refuses in three situations the guides agree on. Everywhere else on the playable map is allowed — including outside the Control Zone, which is how teams run hidden mortar or resupply FOBs behind their own lines.
- Inside a building.
- Inside a main base.
- Overlapping another FOB’s area. Each new FOB must sit outside the marked radius of any existing one.
What comes in the case
Two guides describe the contents slightly differently. The 11 September full-setup guide lists a small and a medium hammer, two wrenches, signal grenades and bandages; the same day’s defences guide lists a hammer, a small starting stock of supplies, wrenches for vehicle repair, signal grenades for marking landing and supply drops, and bandages. Both agree the starting stock covers a few walls and a door and not much more. Use the signal grenades to mark the FOB when you call for resupply.
The four supplies a FOB runs on
A FOB does not restock itself. Everything built inside its zone — and every repair — is paid for out of what has been delivered to it, and the guides describe four separate supply types that each do one job. Supplies only work once they are inside the zone and in the FOB’s inventory.
Ammo Supplies vs the rounds for your own gun →
- Pallets dropped inside the zone give an UNLOAD SUPPLIES prompt that moves the whole pallet into the FOB at once. Crates do not — someone carries those in by hand.
- A pallet that lands a few metres outside the zone is not yours to use, and one guide says it cannot be loaded back onto the vehicle.
- One guide gives a cap of 20,000 per supply type, stored separately.
- One guide reports a supply pallet costing $400 and paying $2,500 when delivered into an existing FOB’s zone.
| Supply | What it pays for |
|---|---|
| Build Supplies | Every structure and every repair |
| Ammo Supplies | Reloading emplacements — mortar, CIWS, Talon. Not your rifle. |
| Fuel Supplies | Refuelling vehicles, and running the drill rig |
| Mechanical Supplies | Repairing vehicles; reported to feed kamikaze-drone stock |
What needs a FOB and what does not
Four field fortifications go down anywhere with the small hammer. Everything else has to be inside a friendly FOB’s zone and draws on its Build Supplies. The costs below are the ones printed in the guides; where two of them disagree, both are shown with the guide’s date. Trust your own build wheel over any of them — every guide says the same.
Building, aiming and ranging the L81 mortar →
| Structure | Needs a FOB zone? | Build Supplies (reported) |
|---|---|---|
| Sandbag Wall | No | — |
| Barbed Wire | No | 5 |
| Hedgehogs (tank trap) | No | — |
| Recon Tent | No | — |
| Door | Yes | 14 |
| Gate | Yes | 52 |
| HESCO Wall (four tall blocks) | Yes | 46 |
| Recon Tower | Yes | 61 |
| L81 mortar | Yes | 91 |
| Refuel or Repair Station | Yes | 121 each |
| Talon 9K-SAM | Yes | 601 (10 Sept) · 801 (10 Sept, another guide) |
| Vanguard CIWS | Yes | 901 |
| Drill Rig | Yes | 1,351 (10–11 Sept) · 901 (15 Sept) |
| Bunkers, Indirect Fire Shelter, Stingray pit, Hotzone Magnet | Yes | Not printed |
Which hammer builds what
Supplies cannot fix the wrong tool. The guides describe three hammer tiers: the small hammer handles the four no-FOB items, the medium hammer adds the large basic structures, and only the Large Hammer starts weapon emplacements and the drill rig. Any hammer can help finish a structure once someone with the right tier has placed it, and a teammate can drop a Large Hammer for you to pick up. The guides do not fully agree on the line between the top two tiers: the CIWS guide says only the Large Hammer raises weapon emplacements, while a 10 September AA-tower guide calls a Medium Hammer enough for its Talon build. The Large Hammer’s gate is official: Season 1 put it at Support 8 with a $75,000 one-time unlock, and $2,400 to carry.
How Support XP is earned — by using Support items →
| Hammer | Starts | Gate |
|---|---|---|
| Small | Sandbags, barbed wire, hedgehogs, Recon Tent | Not stated |
| Medium | Basic and large buildables | Reported: Support 3 |
| Large | Everything, fastest — mortar, CIWS, Talon, drill rig | Official: Support 8, $75,000 unlock, $2,400 |
Anti-air: the FOB is how you shoot down a helicopter
If you are here because helicopters keep killing your squad, the answer the guides give is a FOB. Both player-built anti-air weapons — the Talon 9K-SAM launcher and the Vanguard CIWS gatling — can only be placed inside a friendly FOB’s zone, only a Large Hammer starts them, and both reload from the FOB’s Ammo Supplies, so they fall silent when that stock runs out. Two details decide whether they work at all:
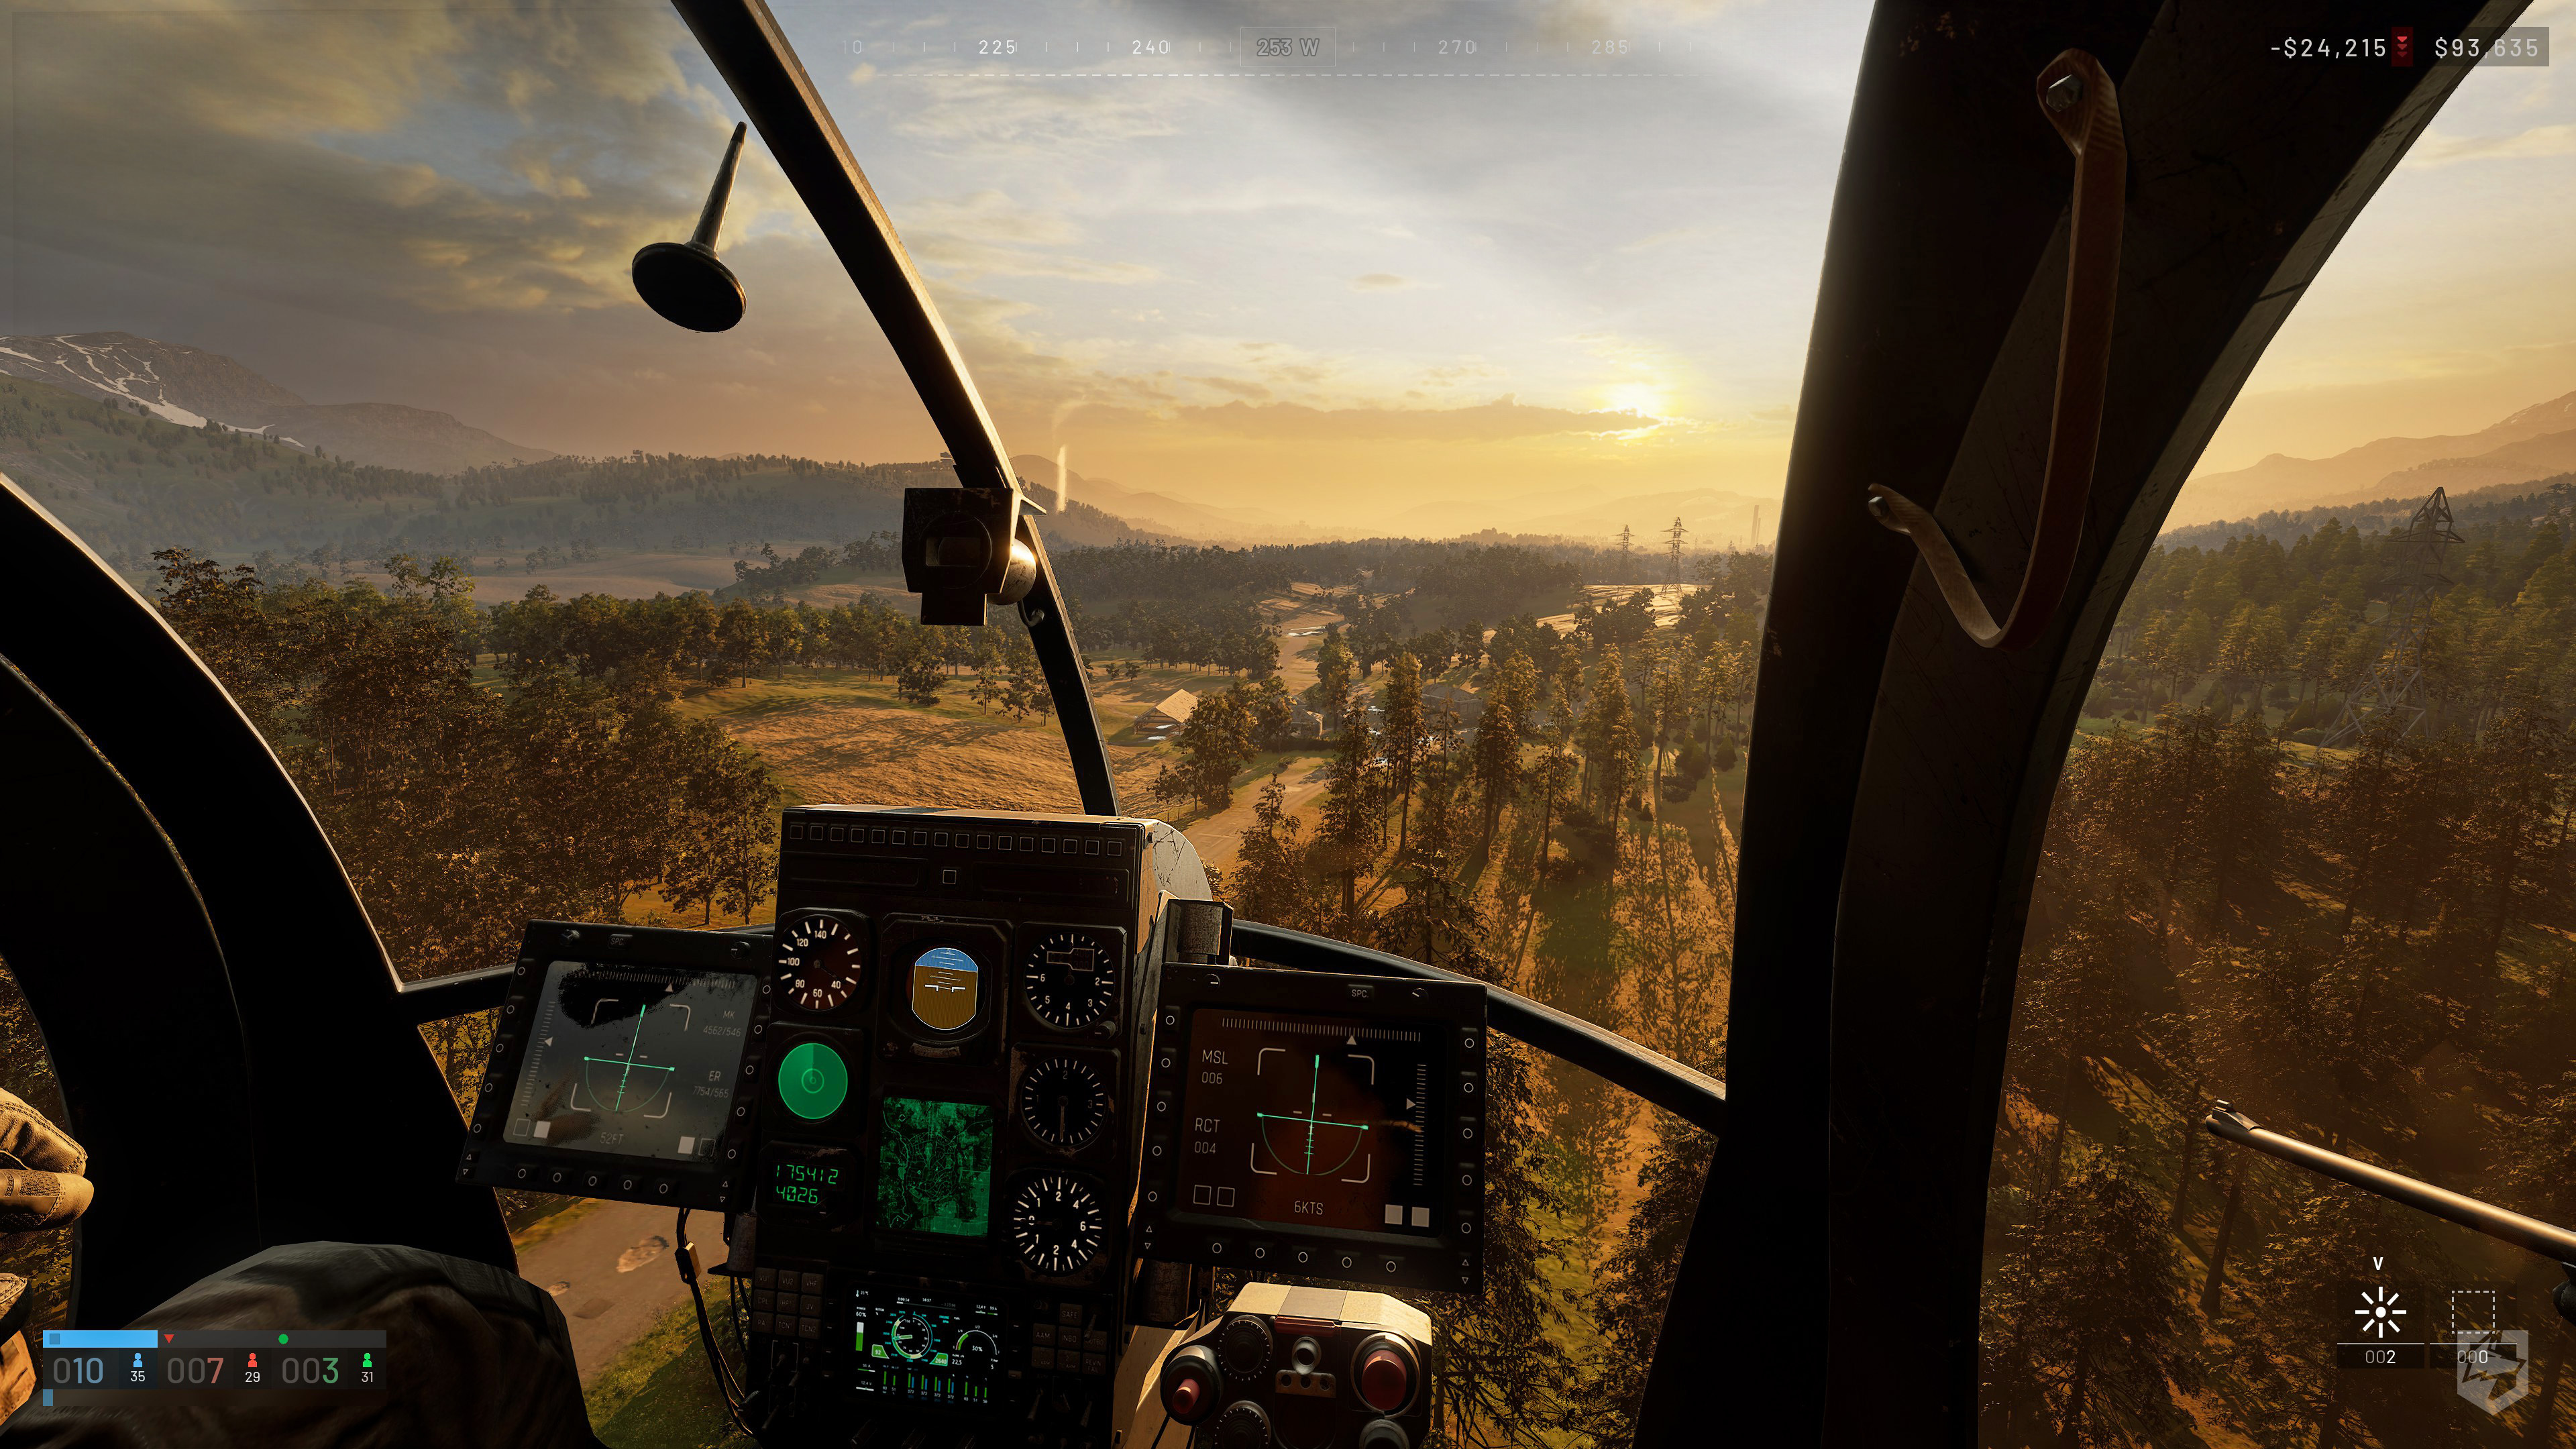
The other side of it: how to fly the helicopter →
- Keep the muzzle clear. A SAM missile has a minimum arming distance, and one that clips a window frame or a HESCO lip in front of the launcher hits before it arms and does not explode.
- Check the arc from the seat before you wall it in. A CIWS that cannot elevate over the ridge behind it is 901 supplies of decoration, in one guide’s words.
- One guide reports helicopter kills from a SAM paying roughly $8,500 to $14,500 depending on the airframe. BULKHEAD has published no such figure.
A FOB is not a spawn point
This is the most repeated correction in the guides. A FOB is a construction and supply hub; the forward spawn is a separate spawn vehicle — an APC your team drives into the Control Zone — selected from the Deployment Board at your HQ. A friendly FOB marker on the map tells you nothing about whether you can spawn there. Teams often hide the spawn vehicle behind a FOB’s walls, which is why the two get confused.
How many FOBs a team can have
No cap has been reported. The only rule the guides describe is spacing: each new FOB must sit outside the radius of any existing one. One guide dated 19 September reports players observing nine in a single match; another calls two or three normal. BULKHEAD has not published a limit either way.
Losing one: hacking and destruction
The FOB console is the weak point, not the walls. Guides describe two ways an enemy takes it: standing at the console to hack it, which sets off a loud siren and takes roughly thirty seconds, or planting an explosive on it. No health figure has been published, but players report a single Improvised Explosive Device ($300, no unlock) destroying one outright. When it goes, it takes the build zone, everything stored in it and the mortar’s ammunition with it.
How many C4, IEDs or mines a FOB takes →
- The enemy cannot build inside your zone — a sandbag wall will not place in an enemy FOB’s radius.
- Bounty for destroying one: $2,500 and 500 Support XP in Closed Beta 02, when a FOB also cost $2,500. For Season 1, one guide of 20 September reports $5,000 to the attacker; another of 19 September says no updated figure has been published. Neither is official.
- The guides’ defensive advice is consistent: wall the console itself first, keep entrances to airlocked pairs of doors, close them behind you, and keep the base out of sight of the Control Zone, where every mortar on the map will find it.
What is not established
Stated as plainly as what is. None of the sources checked for this page — BULKHEAD’s changelogs included — publishes the following, and this site does not fill them in:
- An official placement fee, build radius, health value or bounty for a FOB.
- An official per-structure Build Supplies cost. Every cost on this page comes from a guide, and two guides disagree on the drill rig and the Talon.
- An official limit on FOBs per team.
- Recommended FOB spots on named maps. Guides favour indestructible towers, churches and reverse slopes; this site does not publish map-specific positions.
Common questions
Where do you buy a FOB in WARDOGS?
At the Equipment Vendor, under Gear, Items, then Building, according to All Things How’s guide of 11 September 2026. It takes a 2×3 inventory block, so the free starter backpack cannot carry it — use a larger backpack or a vehicle’s logistics slots.
How much does a FOB cost in WARDOGS?
$7,500. BULKHEAD’s Season 1 changelog of 9 September 2026 raised it from $2,500, which is the figure older beta-era guides still quote. One guide of 20 September also reports a $1,000 fee to place it; BULKHEAD has not published that.
Why won’t my FOB place?
The guides give three reasons: you are inside a building, inside a main base, or overlapping another FOB’s area. It can go anywhere else on the playable map, including outside the Control Zone.
Can you spawn on a FOB in WARDOGS?
No. A FOB is a construction and supply hub. Forward spawning runs off a separate spawn vehicle that your team parks in the Control Zone, selected from the Deployment Board at HQ.
How many FOBs can you have in WARDOGS?
No limit has been reported, and BULKHEAD has published none. Guides describe one rule: each new FOB has to be placed outside the radius of any existing one. One guide reports nine in a single match.
Can you build without a FOB?
Only four things: Sandbag Wall, Barbed Wire, Hedgehogs and the Recon Tent, all with the small hammer. Walls, doors, gates, towers, weapon emplacements, stations and the drill rig all need a friendly FOB’s zone and its Build Supplies.
Does a FOB restock itself?
No. Every structure and every repair is paid for out of supplies delivered to it. Pallets dropped inside the zone unload in one prompt; crates have to be carried into the FOB’s inventory by hand.
How do you destroy an enemy FOB?
Guides report that a single Improvised Explosive Device ($300, no unlock) planted on the FOB console destroys it outright; hacking the console instead takes around thirty seconds and sets off a siren. No official health or bounty figure has been published.
Sources & verification
The $7,500 price, its $2,500 predecessor and the Large Hammer’s Support 8 / $75,000 gate come from BULKHEAD’s Season 1 changelog of 9 September 2026. The vendor path, placement rules, supply types, build costs and bounties are attributed to All Things How guides published between 10 and 20 September 2026, each read from the page’s raw HTML on 25 September. This site has not reproduced them in its own client. Where two guides disagree, both figures are shown with their dates.
| Source | Type | Read |
|---|---|---|
| BULKHEAD · IR Goggles & CWIS Balance Hotfix, 2 October 2026Published at 15:39:32 UTC. BULKHEAD says IR Rangefinders will be disabled in the vendor as regional servers restart within 12 hours, then return in Season 02 with a battery requirement. It also says the CIWS now destroys the Havoc in around 6 seconds rather than 12, correcting an overcorrection in the previous patch. No client download or server downtime is required. The title spells the emplacement “CWIS”; the body uses “CIWS”, which is the spelling retained by this site. | Publisher stated | 2026-10-02 |
| BULKHEAD · Pre-Load Live & Season 1 Changelog, 9 September 2026Published 22:46:09 UTC. Records server-browser, voice, stability, progression and economy changes from beta to Season 1. | Publisher stated | 2026-09-11 |
| All Things How · “Wardogs: How to Build a FOB (Full Setup)”, 11 September 2026Supplies the vendor path, the 2×3 footprint, the vehicle-logistics haul and G-to-drop, the Tab/left-click placement, the three placement refusals, the case contents and the pallet UNLOAD prompt. Its $4,887 price matches neither official figure and is not used. Read from the page’s raw HTML. | Unverified | 2026-09-25 |
| All Things How · “Wardogs Building Guide: How to Set Up a FOB and Its Defenses”, 11 September 2026Supplies the four no-FOB buildables, the 20,000-per-type storage figure, the lootable-case warning, the not-a-respawn-point correction and the 1,351 drill rig and 91 mortar costs. Its ~$2,500 FOB price is the beta figure. | Unverified | 2026-09-25 |
| All Things How · “Wardogs FOB Building Mistakes and How to Fix Them”, 10 September 2026Supplies the three hammer tiers, the Door 14 / Gate 52 / HESCO Wall 46 / Recon Tower 61 / Barbed Wire 5 / CIWS 901 / Talon 601 / Refuel and Repair 121 costs, the console-hack siren and the pallet-outside-the-radius warning. | Unverified | 2026-09-25 |
| All Things How · “Wardogs: What You Can Build Outside a FOB Radius”, 20 September 2026Supplies the $7,500 / 6.5 kg figures, the $1,000 placement fee and $5,000 attacker bounty (neither official), and the rule that sandbags cannot be placed in an enemy FOB’s radius. | Unverified | 2026-09-25 |
| All Things How · “Wardogs: How to Destroy an Enemy FOB Solo”, 19 September 2026Supplies the IED-on-the-terminal method, what a destroyed FOB takes with it, the no-limit spacing rule and the nine-in-one-match observation, the ~30-second hack, and the Closed Beta 02 $2,500 / 500 Support XP bounty with its statement that no Season 1 figure is published. | Unverified | 2026-09-25 |
| All Things How · “Wardogs: How to Get a Forward Spawn”, 11 September 2026Supplies the distinction between a FOB and the spawn vehicle, and the HQ Deployment Board. | Unverified | 2026-09-25 |
| All Things How · “Wardogs: How to Build a Portable AA Tower Anywhere”, 10 September 2026Supplies the 60 m build radius, the Talon’s 801-supply cost, the SAM minimum-arming-distance failure and the $8,500–$14,500 helicopter-kill payouts. | Unverified | 2026-09-25 |
| All Things How · “Wardogs: How to Build the Vanguard CIWS AT Gun”, 14 September 2026Supplies the Large-Hammer-only rule for emplacements, the dropped-hammer workaround, the four supply types and what each does, and the CIWS reloading from the FOB’s Ammo Supplies. | Unverified | 2026-09-25 |
| All Things How · “Wardogs: How to Build a Drill Rig”, 15 September 2026Supplies the drill rig’s 901-supply cost (other guides say 1,351), the Medium Hammer at Support 3, and the fuel requirement. | Unverified | 2026-09-25 |